Ordering a print
The steps from the Print button to a placed order, the checks Womp runs, prices and discounts, and cancelling.Use this when: you are ready to order a print, or need to explain how ordering works.
Don't use this for: design limits or delivery times. Read Design rules and Shipping.
Three ways to start
- From the editor: open a project and click
Printin the top bar ("Enter print mode"). The right panel shows thePrinttab. You can also open theSharemenu and choosePrint with Womp. ClickExit Printto go back to editing. - From Spark (Womp AI): a generated 3D model card has a
3D Printbutton that opens the print panel for that model. - From a file: on the Discover page, open
Order a 3D Printand upload a 3D model. Womp accepts.stl,.obj,.fbx,.gltf,.glb,.ply,.dae,.3ds,.off,.stp,.step,.xml,.wrefand.zip. The upload limit is 150 MB on Free and 300 MB on Pro.
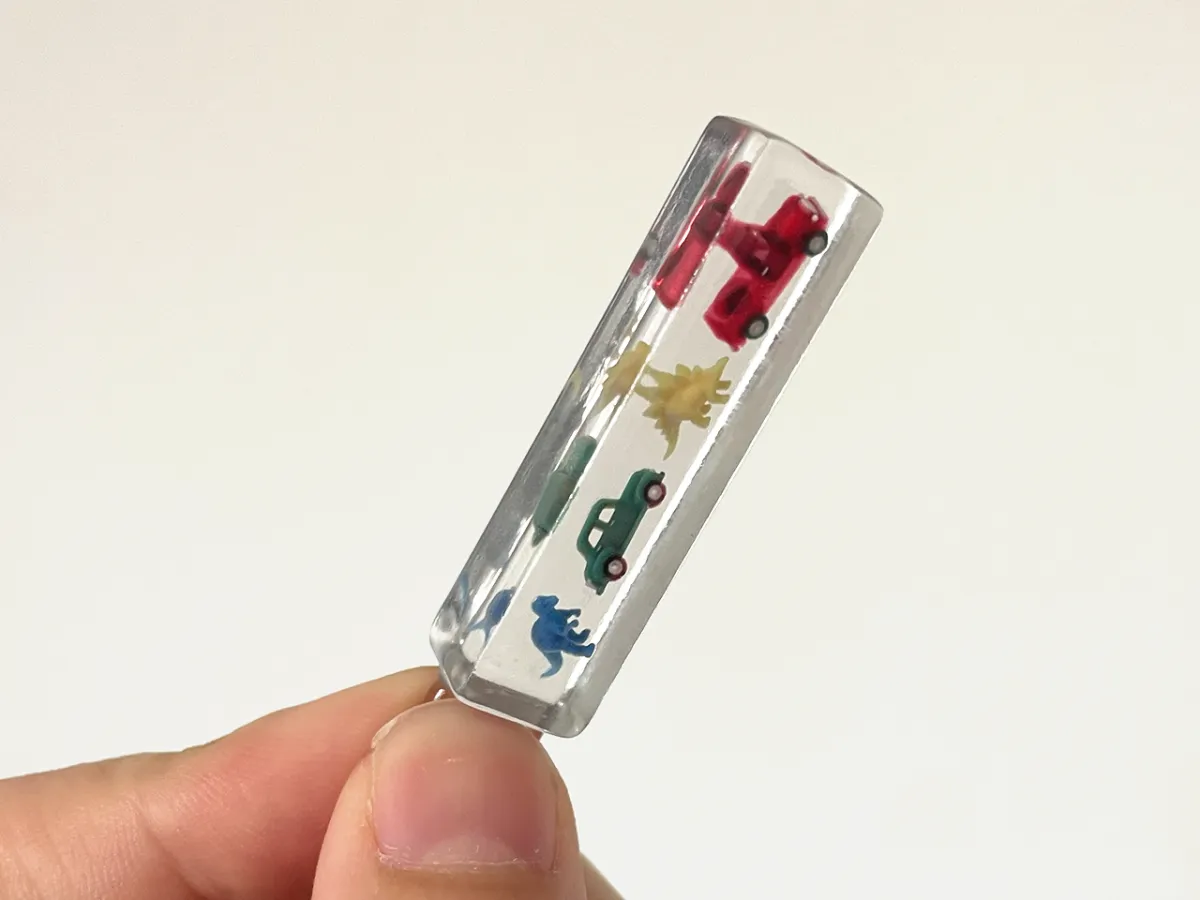
A clear print with coloured figures inside. Check fits, loops and thin parts against the design rules before you order.
The steps
The print panel walks you through these steps. Each one has a button to go to the next.
- Size: set
Width (X),Height (Y)andDepth (Z). Turn onBanana for scaleto see the model next to a banana. A model is too small to print when all three sizes are under 10 mm. It must fit inside 30 x 30 x 30 cm. - Material: pick a card and its
FinishandColor. See Materials and finishes. - Print style:
SolidorHollow. Hollow is a Pro feature and has a wall thickness slider. - Drain holes: only for hollow prints. Add holes so resin can drain (
HOL-06). If you skip them, Womp adds them. - Review: check the settings and price, then click
Add to cart, orProceed to checkoutwhen you started from a file.
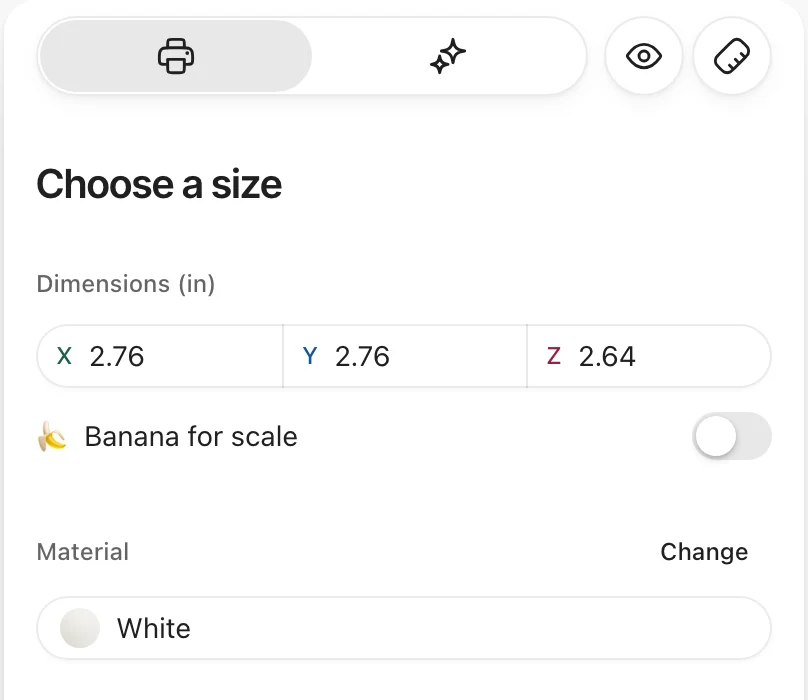
Step 1, Choose a size.
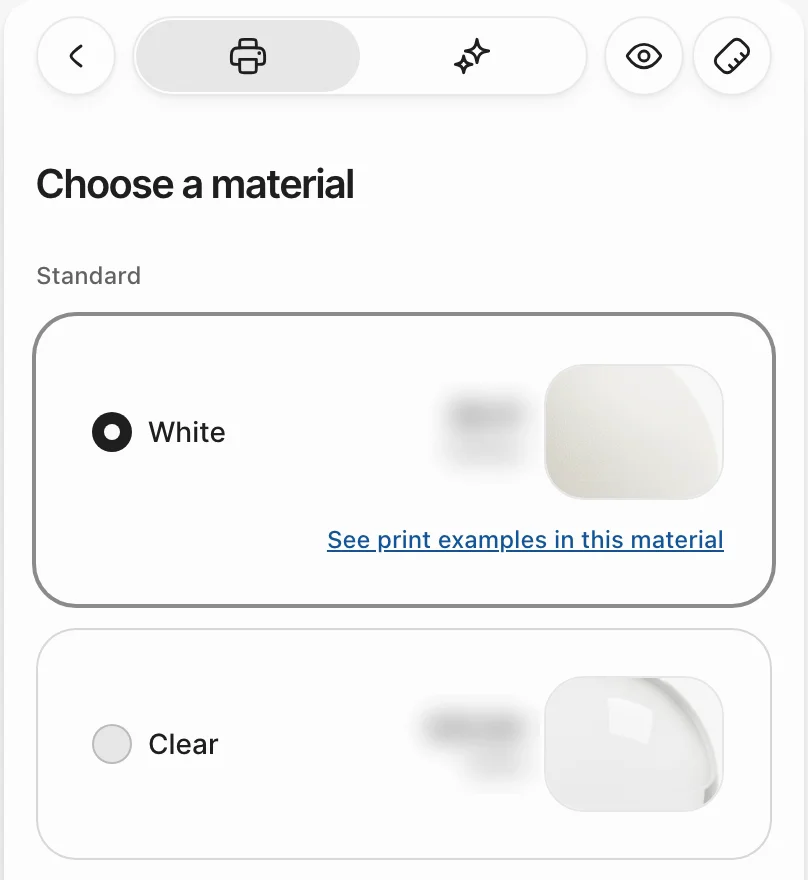
Step 2, Choose a material. Pick a card; prices are blurred in this shot.
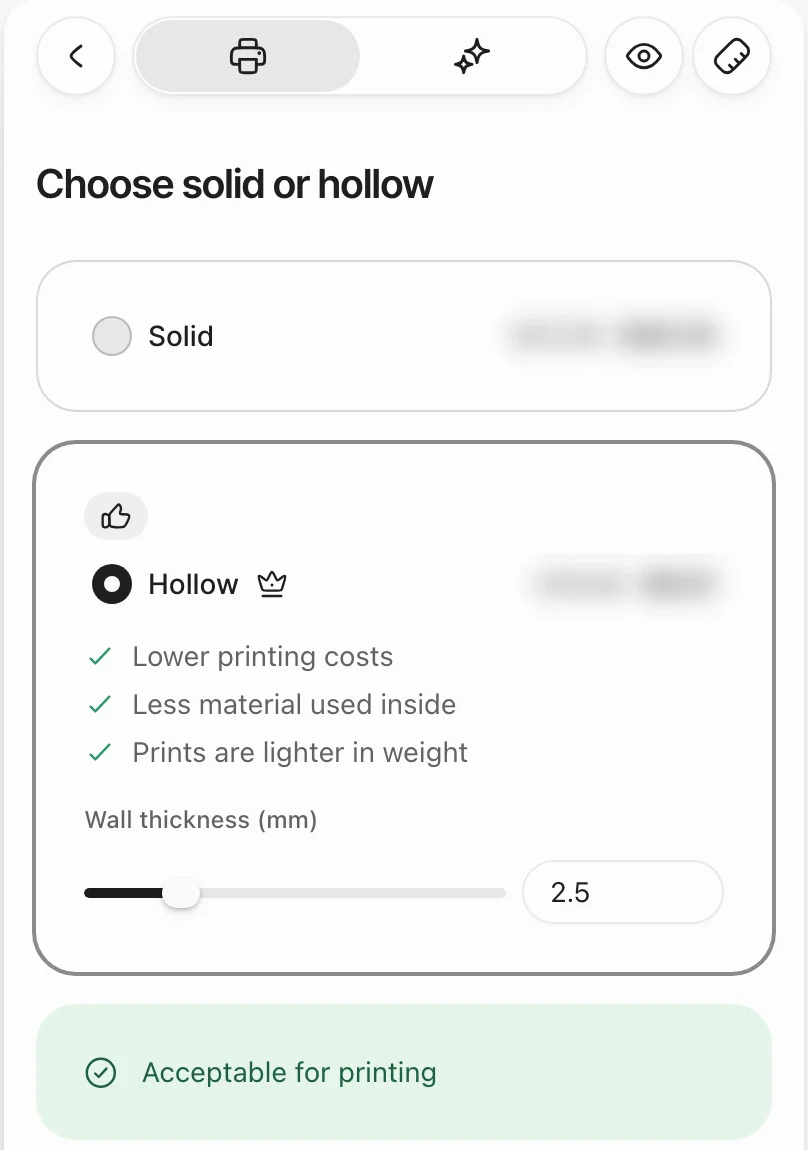
Step 3, solid or hollow. Hollow is Pro and has a wall thickness slider.
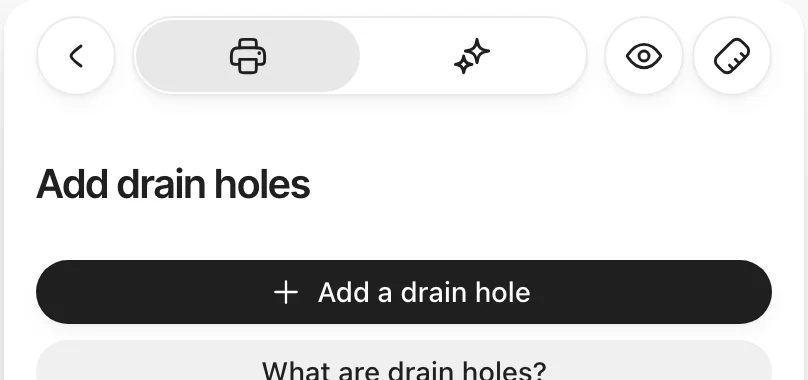
Step 4, drain holes, for hollow prints only.
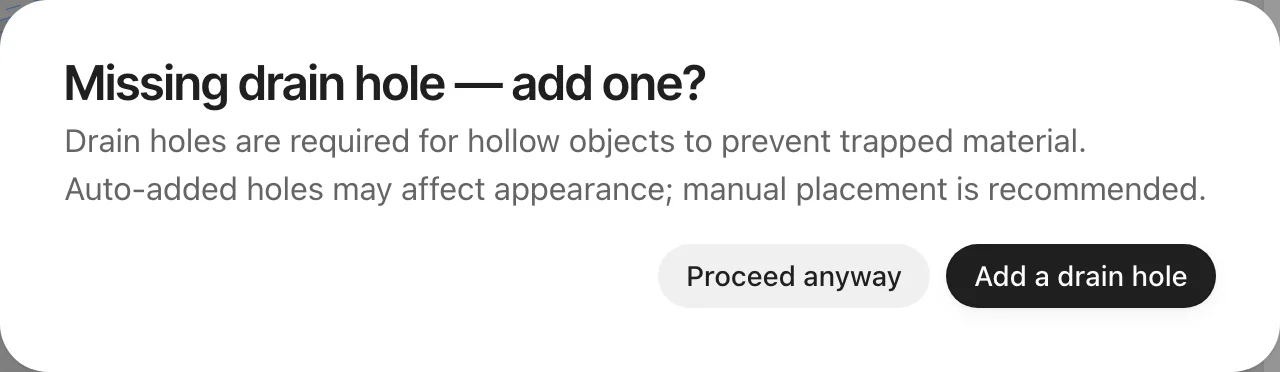
If you go on without a drain hole, Womp asks first. Proceed anyway lets Womp add the holes.
Checks before you can order
- Broken meshes: you cannot continue while the model has non-manifold geometry.
- Size: you cannot continue while the model is smaller than the minimum or larger than the maximum printable size.
- Thin areas: if more than 5% of the model is too thin, Womp shows a warning. You can
RevieworProceed anyway. - X-ray mode shows fragile areas in red and yellow.
- Pieces: each order item can have at most 3 separate pieces. Orders with more are rejected.
After you order, Womp checks the order before it prints. A model that breaks a design rule can go to engineering review (GEN-05).
Price and discounts
The price is computed for each model from its geometry, size and material, in US dollars. The Print panel and the cart show it.
- Womp Pro: 10% off print orders. The cart shows it as
Womp Pro savings. - Minimum order: $30. An order below it is topped up to the minimum, shown in the cart as
Minimum order difference.
Checkout
- Open the cart and click
Checkout. - Add or change your address and choose a shipping option under
Select shipping. See Shipping. - Pay by card through Stripe, or with PayPal.
- Womp shows
Order successfully placedwith an estimated delivery date and emails a confirmation.
You can check out as a guest with an email address.
Cancelling
If you are signed in, you can cancel from My orders within 1 hour of placing the order. After that the order is in production and cannot be cancelled. Guest orders cannot be cancelled once paid: email support@womp.com.
Use instead
- Wrong move: ordering a model with many loose parts as one item. Why: each order item can have at most 3 separate pieces. Right move: join the parts, or order them as separate items.
- Wrong move: quoting a fixed price per print. Why: price depends on each model's geometry, size and material. Right move: open the
Printpanel to see the price. - Wrong move: quoting a minimum order or maximum size from memory. Why: both are live settings that change. Right move: quote this page, which reads them from Womp at each build: $30 minimum, 30 x 30 x 30 cm maximum.
Last checked: 2026-11-10. Womp version: Womp web app, November 2026.