Curves and drawing
Add and draw curves, draw vector paths with the Pen and Freehand tools, import SVG files, add 3D text, and engrave or emboss them into a model.Use this when: you want a wire, tube or flowing shape, a hand-drawn or vector path, or a logo cut into or raised from a surface.
Don't use this for: basic shapes and how Goop and Form work in general. Read Modelling.
Curves
A curve is a chain of curve points. Womp fills the space between the points with one shape, so the curve looks like a tube, a wire or a string of beads.
Add a curve
Press O to open the objects menu, then choose from Curves:
Default(Shift+C)Droplet,Square,S shaped,DonutandW - Helix. These are ready-made curves. You can edit them like any other curve.
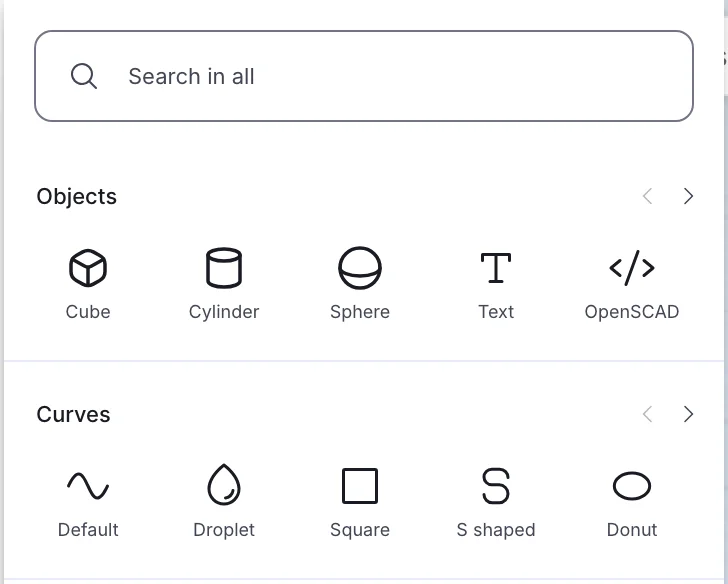
The Curves row of the objects menu (O).
Draw a curve
Click Draw in the left toolbar. Under Curves:
Curve Brush: sketch on the model.Curve Points: place points on the model.Size: the thickness of the curve you draw.
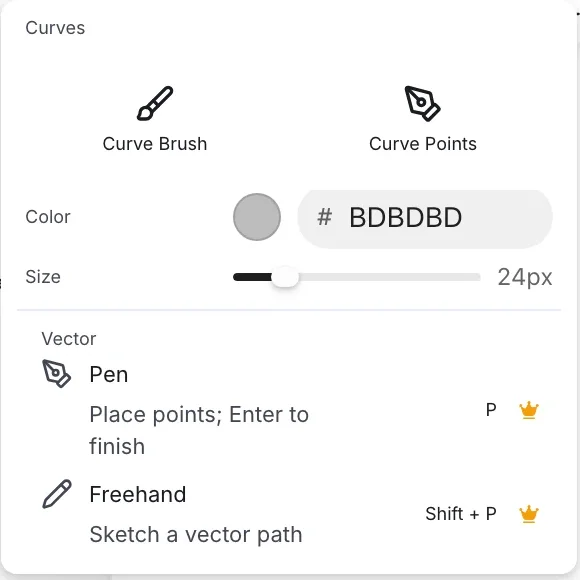
The Draw menu with Curve Brush and Curve Points. Pen and Freehand carry the Pro crown.
Curve settings
Select the whole curve in the scene list, not one point. The inspector shows:
- Shape: the shape the curve is made of.
Sphere,Cylinder,CubeandConeare free.PyramidandTorusneed Pro, and current (v2) projects also offerEllipsoid,Capsule,Link,Hexagon,TriangularandOctahedron(Pro). The whole curve uses one shape. Roundness: 1 to 10. Sets how round the bends are.Density: 0 to 250. The number of shapes between two curve points. A low value gives a bead effect. A high value gives a smooth tube but makes the scene heavier.Goop Strength: 0 to 1000. Blends the curve with nearby objects and with itself.
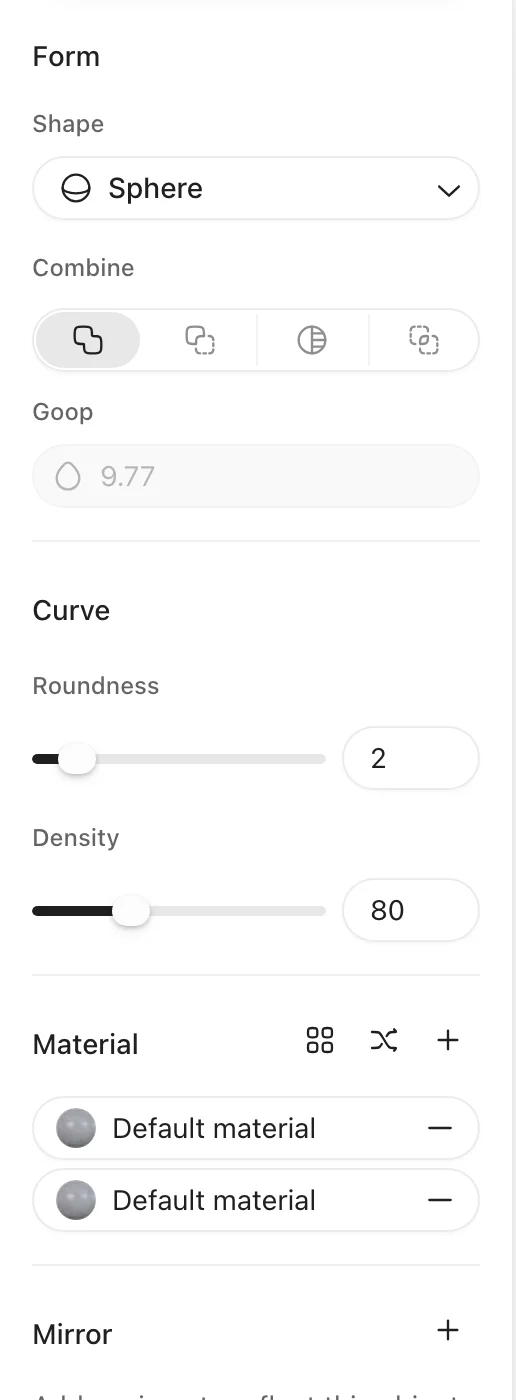
A new curve selected: its Roundness and Density, and a material for each point.
Curve point settings
Select one curve point to set its Position, Rotation, Size and Roundness. Each point can have its own size and material, so a curve can taper or change color along its length.
Turn on Fixed Point to make the curve always pass through that point, even when the curve is rounded.
Pen and Freehand
The Draw menu has a Vector group. Both tools need a Pro project. Without Pro, Womp shows the plan options; in a project that is not a Pro project, it offers to upgrade the project.
| Tool | Key | What it does |
|---|---|---|
Pen | P | Place points. Press Enter to finish. |
Freehand | Shift + P | Sketch a vector path. |
The shortcuts list calls the Pen Pen tool.
Vector path settings
Select a path (drawn or imported). The inspector shows:
Inflate: gives the path rounded volume.Stroke: shows the outline of the path instead of the fill. Set the outline width when it is on.Outline stroke: turns the stroke into a filled shape.- Path operations (select more than one path):
Union,Subtract,Intersect,Exclude,CombineandDivide. These work on the 2D paths. They are not the same as a union in the scene list. Simplify shape: removes extra points from one selected path.Goop(hidden whileInflateis on),Position,RotationandSize.
Import an SVG
Open Functions in the left toolbar and choose Import SVG, or choose Import image and sticker, then SVG. Both need Pro. Import SVG appears in current (v2) projects only. The SVG comes in as vector paths with the settings above. Simple files with few paths work best.
3D text
Press O and choose Text (Shift + T). It is in alpha (the flask in the Text section). Type up to 60 characters. Select the text to set:
Font Style,Font Weight,Font Size,Line HeightandLetter Spacing.- Fonts: pick from
All fontsor yourLibrary.Upload a fontis Pro. Only.ttfand.otffiles work. Goop(0 to 500),Position,RotationandSize, as on other objects.
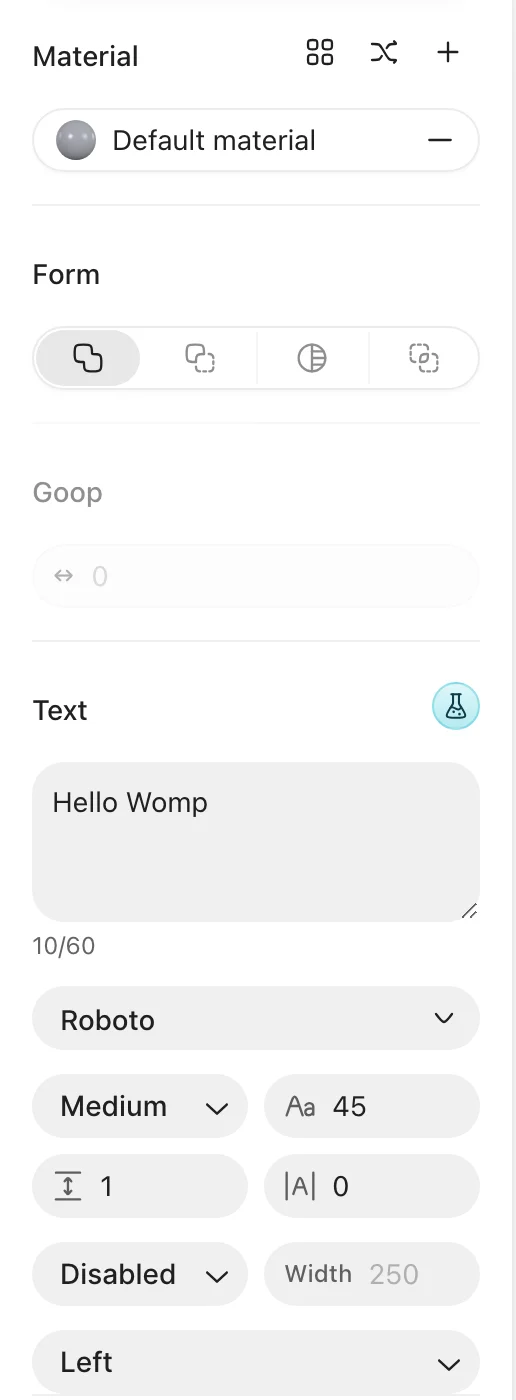
A new 3D text object (Shift + T). The Text section has the text box, font, weight, size, line height, letter spacing and alignment.
Text uses Form like other objects, so you can engrave or emboss it the same way as an SVG below.
Engrave or emboss an SVG
- Import the SVG, or draw a path.
- Turn off
Inflate. TheFormsetting shows only whenInflateis off. - Move and scale the path with the handles so it passes into the surface of the model.
- Set
Form:Negativecuts the path into the model (engrave).Positiveadds the path to the model (emboss). RaiseGoopto blend it into the surface.StainandIntersectneed Pro on vector paths.
- With
Negative, turn onMaterial Residueif you want the cut surface to keep the cutting path's material. - Make sure the path is in the same union as the model and sits in the right place in the scene list. A negative object cuts the objects above it.
See Modelling for how Form and Goop work.
Use instead
- Wrong move: looking for
Formon an inflated path. Why:Formis hidden whileInflateis on. Right move: turn offInflate, then setFormtoNegativeorPositive. - Wrong move: putting a negative path above the object it should cut. Why: a negative object cuts the objects above it in the list. Right move: move the path below the object in the scene list.
- Wrong move: engraving thin lines or small text for a print. Why: fine detail can be too small to print. Right move: check Detail and lettering first.
Last checked: 2026-11-10. Womp version: Womp web app, November 2026.