Importing and exporting
How to bring 3D files, images, SVGs and fonts into Womp, and how to export 3D models, images and video, with what is Pro.Use this when: you want to import a file into a project, or download your work as a 3D file, an image or a video.
Don't use this for: ordering a print from Womp. Read Ordering a print.
Import a file
At the bottom of the scene list, the import area says "Drag and drop any 3D object, image, or SVG". Drop a file on it, or click it to pick what you are importing:
| Option | What it does | Plan |
|---|---|---|
3D Object | Imports a 3D model into the scene | Free |
Reference image | Shows an image as a reference, not in the scene | Free |
Flat image | Adds an image as a flat plane in the scene | Free |
SVG | Converts an SVG or image into editable vector paths | Pro |
Sticker | Imports an image as a sticker you can put on surfaces | Pro |
Flat image, SVG and Sticker are marked experimental. If you drag an image onto the import area, Womp asks which of these to add it as.
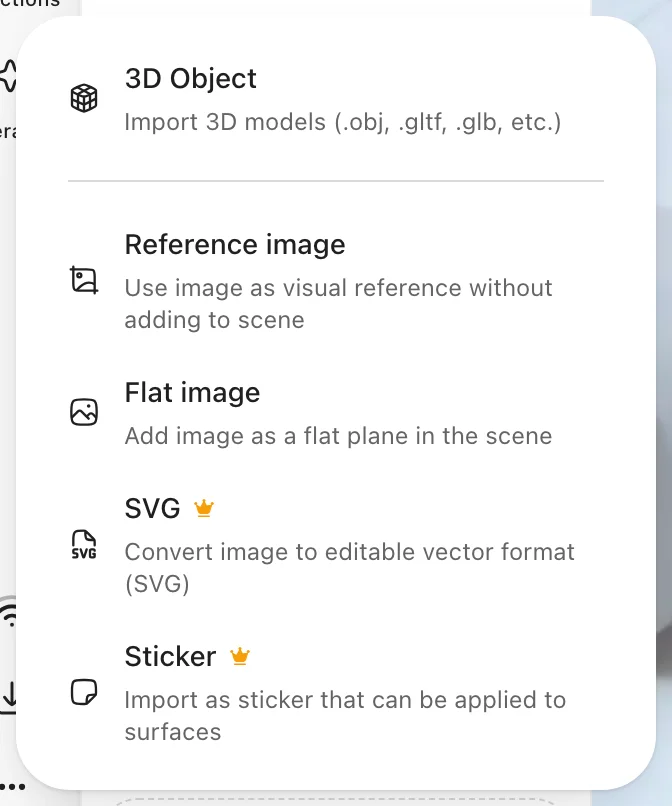
Click the drop area under the scene list to open this menu.
3D formats: .stl, .obj, .fbx, .gltf, .glb, .ply, .dae, .3ds, .off, .stp, .step and .zip.
Upload limit: 150 MB a file on Free, 300 MB on Pro.
Mesh or Field
When you import a 3D model, Womp asks "How do you want to import it?"
Mesh("Best for 3D printing"): keeps the highest visual detail. It is view-only: it cannot goop or blend with other objects.Field (Special Primitive)("Best for modeling"): goops and blends with other objects. Converting loses a little detail, so it is less ideal for 3D printing.
Tick Split into separate objects to import each part of the file as its own object. Then click Import as Mesh or Import as Field.
Import storage
Each project has import storage. The Imports tab of the scene list shows how much is used. When it is full, Womp says "Import storage limit reached" and offers Manage imports. Pro has 2x the import storage of Free.
Upload a font
Select a 3D text object, open the font picker and click Upload a font. Use .ttf or .otf files. Variable fonts are not supported. Uploading fonts is a Pro feature.
Where exports live
Click Share in the top bar. The menu has three download groups:
Download image:Download full-screen imageandDownload frame.Download video:Download screen recordingandDownload camera animation.Download 3D:Download 3D mesh(the whole scene) andDownload 3D mesh (selected).
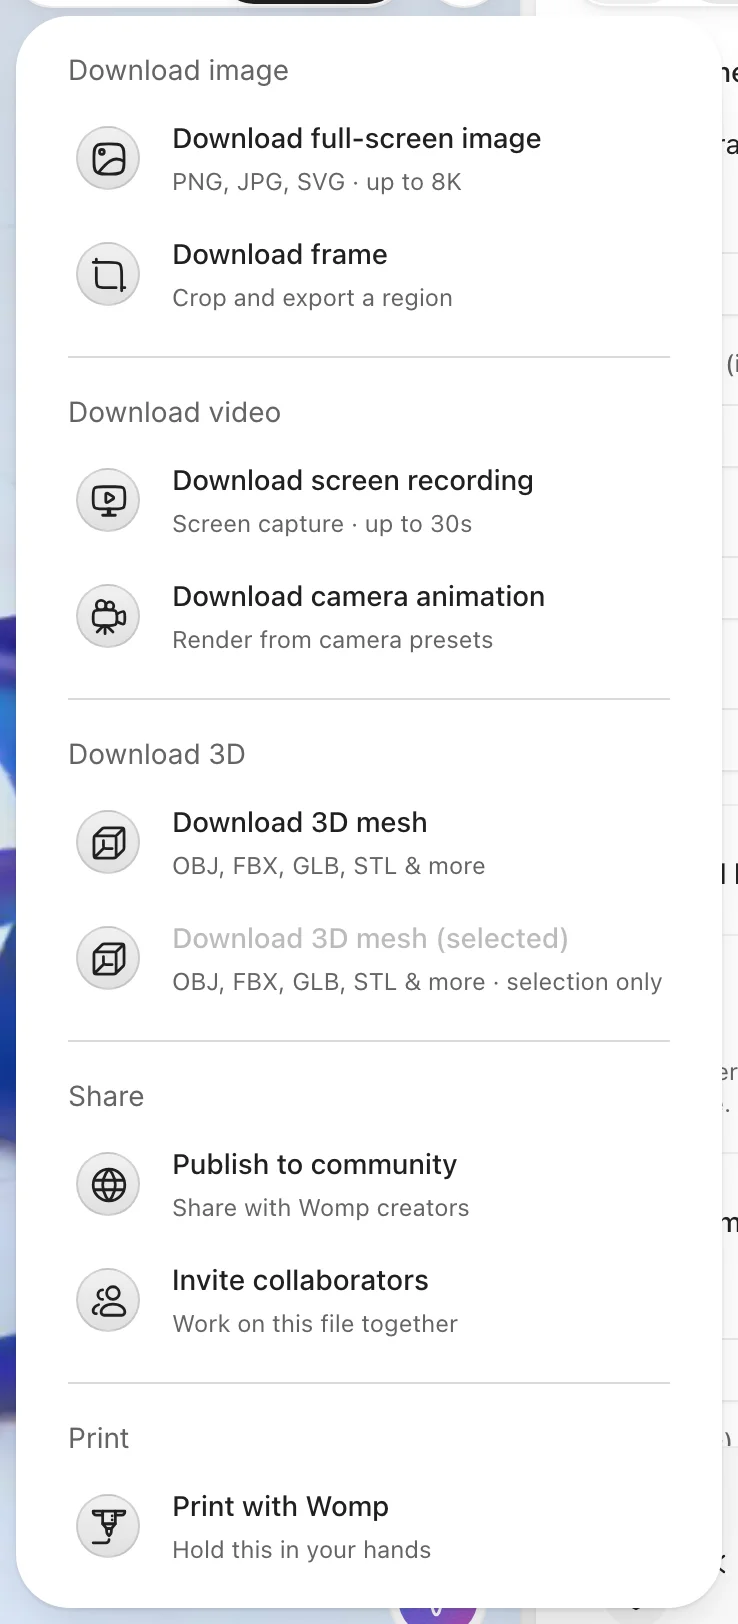
The Share menu. Download 3D mesh (selected) is greyed out until you select something.
In a team, viewers cannot export.
Export a 3D model
- Optional: select the objects you want.
- Click
Share, thenDownload 3D meshorDownload 3D mesh (selected). - The
Export entire scenewindow opens on the3D meshtab. ChooseEntire SceneorSelection. - Choose a
Usecase:Standard: each area is a separate mesh.3D Print: one mesh without overlapping parts.Raw: one mesh with overlapping parts and no textures. OBJ only.
- Choose a
Format: OBJ, STL, PLY, GLTF, GLB, USD, FBX, DAE or X3D. - Set detail with
Quality, or turn onFixed Trianglesand setTriangle count (k)from 1,000 to 256,000. - Optional:
Disable textures(not for STL or PLY) orClean topology(Pro). - Click
Export. The file downloads when it is ready.
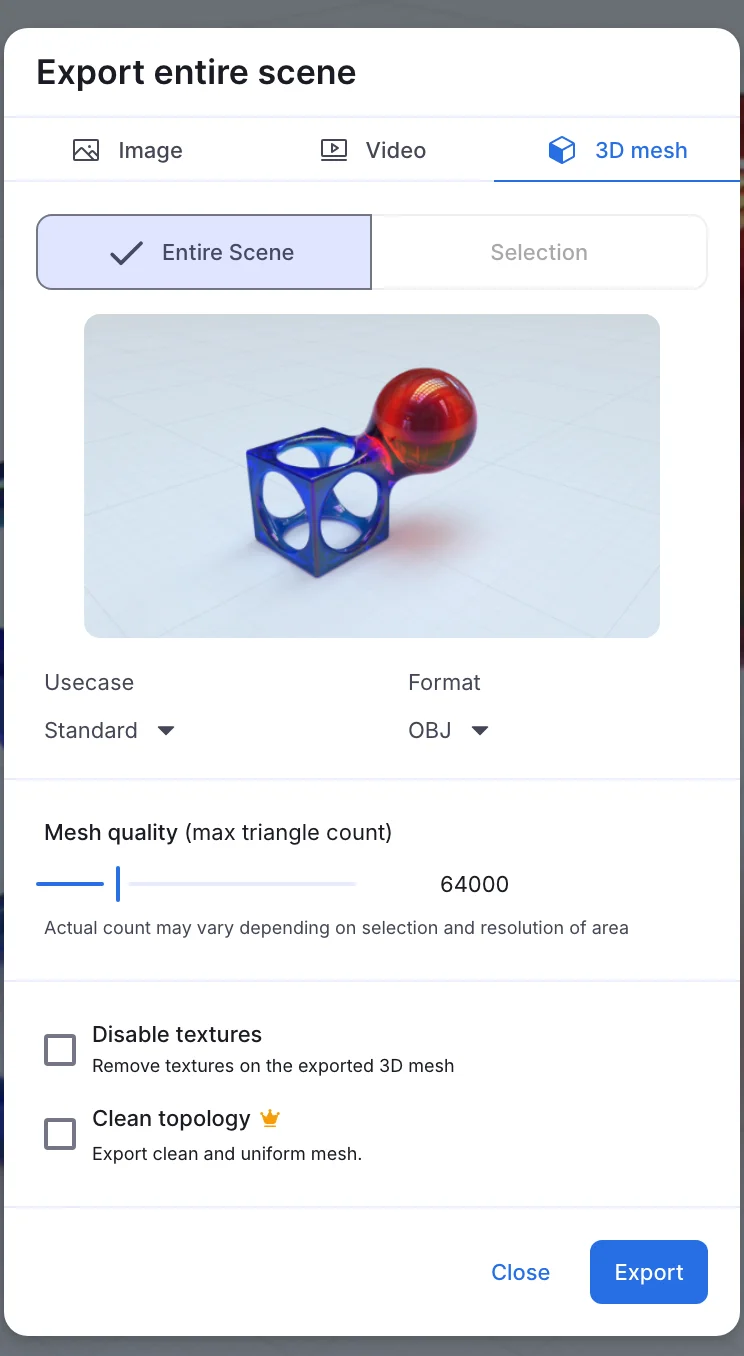
The Export entire scene window on the 3D mesh tab. It also has Image and Video tabs.
Export an image
Download full-screen image opens Export entire scene on the Image tab. Switch between Full screen and Frame at the top. Frame exports the frame you set in the camera settings.
- Resolution: 4K, 2K, 1080p or 720p.
- Format: PNG, JPG or SVG. SVG is Pro.
Background: untick it for a transparent background. You can only change it for PNG.Floor grid: shows the floor grid. It needsBackgroundon.
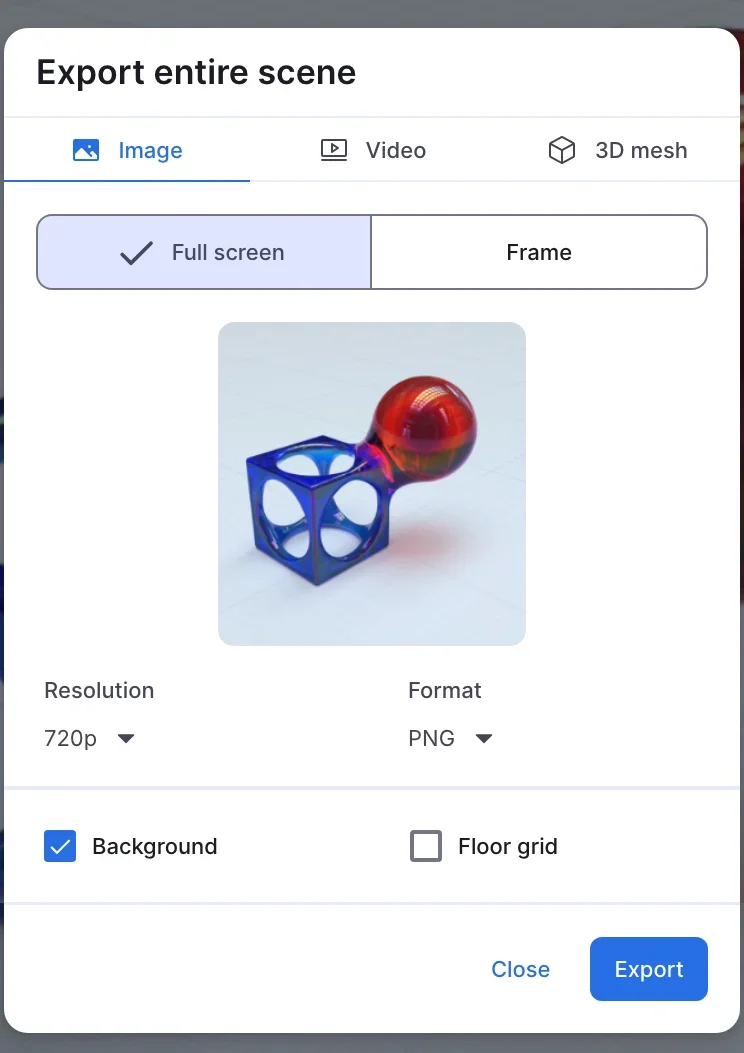
The Image tab of the Export entire scene window.
Export a video
Download screen recording: records what you do in the workspace. The menu shows the maximum length.Download camera animation: renders a camera move (Turn,FlyorPath) set in the camera settings. Pro projects also haveTwistandSine.
Both use the same settings:
- Resolution: 720p, 1080p, 2K or 4K.
- Frame rate: 24, 30 or 60 fps.
- Format: MP4, WebM, Animated PNG or PNG Sequence. PNG Sequence is Pro. MP4 always includes the background.
What is Pro
| Export | Free | Pro |
|---|---|---|
| 3D formats | All 9 | All 9 |
Clean topology | No | Yes |
| 4K image | 20 Womples each | Included |
| SVG image | No | Yes |
| 4K video | 100 Womples each | Included |
| 60 fps video | 100 Womples each | Included |
| PNG Sequence video | No | Yes |
See Womples and Credits and plans.
Use instead
- Wrong move: importing a model as a Field to print it. Why: converting to a Field loses a little detail. Right move: import it as a
Mesh, then follow Ordering a print. - Wrong move: exporting a JPG for a transparent background. Why: only PNG can drop the background. Right move: choose PNG and untick
Background. - Wrong move: telling a free user that 4K and 60 fps need Pro. Why: on Free they cost Womples. Right move: point to Womples or Pro.
Last checked: 2026-11-10. Womp version: Womp web app, November 2026.