Form, Mirror, Flip, Align and Lattice
How Form makes an object add, cut, stain or mask the objects above it, how Mirror reflects an object, and how Flip, Align and Lattice work.Use this when: you want to cut a hole, paint a shape onto a surface, keep only an overlap, build a symmetric model, flip or line up objects, or fill a shape with a lattice.
Don't use this for: blending shapes or changing their order. Read Shapes and Goop, and Scene list.
Form
Form sets how an object combines with the objects above it in the same area or union. Find it in the Object tab of the inspector, or in the right-click menu. Shapes, curves, text and unions have Form. Areas do not.
| Form | What it does | Shortcut | Plan |
|---|---|---|---|
Positive | Adds to the objects. This is the default. | Alt/⌥ + "+" | Free |
Negative | Cuts the objects above it. | Alt/⌥ + "-" | Free |
Stain | Turns the shape into a brush stroke. Use it to paint textures over the surfaces of the objects above it. | Alt/⌥ + Shift + "+" | Pro |
Intersect | Shows only the parts of the objects above it that overlap with it. | Alt/⌥ + Shift + "-" | Pro |
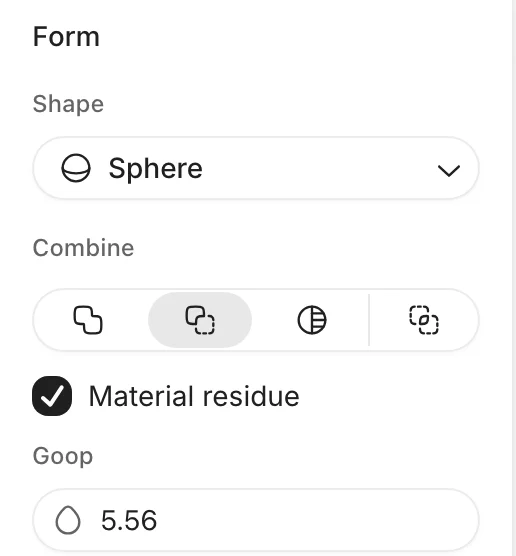
A Negative sphere selected, with its Form settings and Goop.
Rules:
- Form works only inside one area or union. See Scene list.
- The first object in an area or union can only be
Positive. The other buttons are greyed out. Intersectis not available for curves or text.StainandIntersectneed Pro. Without a Pro plan, Womp asks you to upgrade. With a Pro plan in a project that is not Pro, Womp asks you to upgrade the project. See Credits and plans.
Material Residue
When the form is Negative or Intersect, the Material Residue checkbox appears. Turn it on to leave the object's material on the cut surface. It does not work on the first object in an area or union.
Example: a ring
- Add a
Cylinder. - Add a smaller
Cylinderin the same area, below the first one in the list. - Set the smaller one to
Negative. - Move it through the centre of the first cylinder. It cuts a hole.
Mirror
Mirror reflects an object across a plane. It works on shapes and curves. Find it in the Object tab.
- Click
+(Add new mirror plane) next toMirror. You can add up to 4 mirror planes. - Click a plane in the list to open its settings:
Plane Axis:X,Y,ZorCustom.Plane position: where the plane is.Plane rotation: the angle of the plane. Only forCustom.Goop: blends the object into its reflection, so the seam is smooth.Show plane: shows the plane on the canvas.
- Use the eye button to hide a plane, and the trash button to delete it.
Each plane reflects the object and the reflections made by the other planes. Two planes at right angles give 4 copies in total. Three give 8.
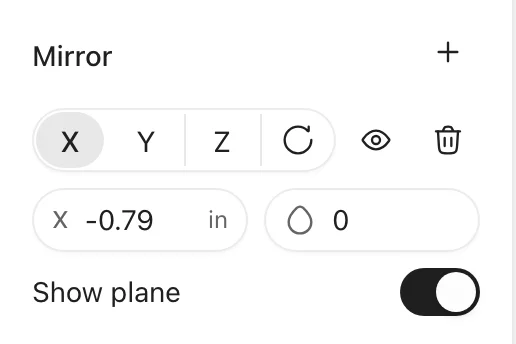
One mirror plane on the X axis, with its axis, position, Goop and Show plane settings.
Some older projects show a simpler Mirror section instead: turn on X, Y or Z under Axis, set a Goop value for each axis, and use Show plane. If the object moves behind its mirror plane, click Move back to visible.
Flip
Flip turns the selected objects over along one axis. The object is replaced by its flipped version. Mirror is different: it keeps the original and adds a reflection.
- In the
Objecttab, clickX,YorZnext toFlip. - Or right-click the object and choose
Flip, thenX axis,Y axisorZ axis.
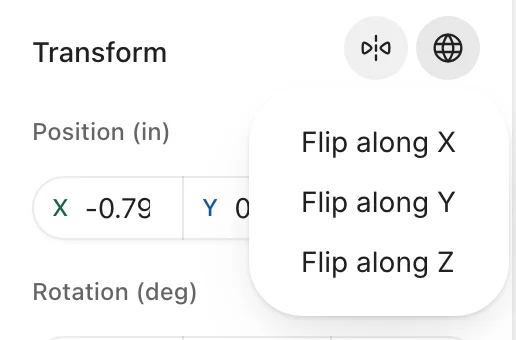
Flip mirrors the selection along X, Y or Z.
Flip works on shapes, curves, text, meshes, fields, SVGs, stickers, groups, unions and areas.
Align
Align lines up two or more selected objects inside their shared bounding box. Select the objects. The Align section appears in the Object tab.
| Row | Buttons |
|---|---|
| Horizontal | Left, Center, Right |
| Vertical | Top, Center, Bottom |
| Depth | Front, Center, Back |
The directions follow your current camera view, not fixed world axes. Hover a button to see the plane it aligns to.
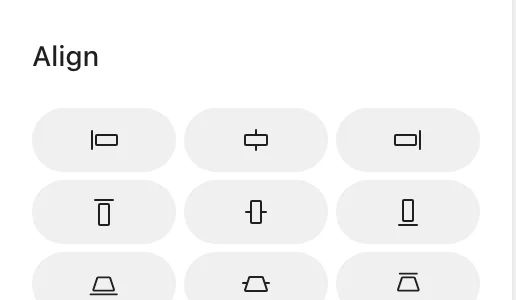
The Align section with two objects selected: three rows of three buttons.
Lattice
Lattice fills a shape with a repeating inner structure. It is a Pro feature and is marked alpha.
- Select a shape, curve, union or area.
- Open
Functionsin the editor toolbar and chooseLattice. It is in current (v2) projects only. - Turn on
Latticeand pick a type:Gyroid,Schwarz,Diamond,Octet Beam,BCC Beam,Cubic BeamorSpheres. - Set
Position,Rotation,Scale(cell size),Thickness(strut thickness) andWall Thickness(outer shell). - For round shapes, turn on
Polar Transformand setPolar Repetitions.
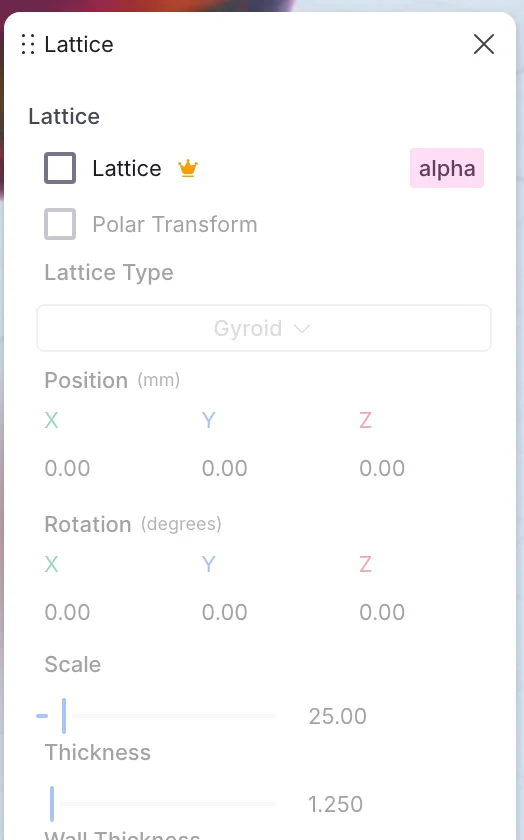
The Lattice panel before you turn it on. The settings unlock when Lattice is checked.
To print a lattice, check the strut and wall sizes against Design rules.
Use instead
- Wrong move: setting the first object in an area or union to
Negative. Why: there is nothing above it to cut, so onlyPositiveis available. Right move: put the shape you want to cut first, and theNegativeobject below it. - Wrong move: using
Flipto make the other half of a symmetric part. Why: Flip replaces the object, so you still have only one half. Right move: add a mirror plane withMirror. - Wrong move: offering
Stain,IntersectorLatticeto a Free user. Why: all three need Pro. Right move: useNegativeorGoop, or see Credits and plans.
Last checked: 2026-11-10. Womp version: Womp web app, November 2026.