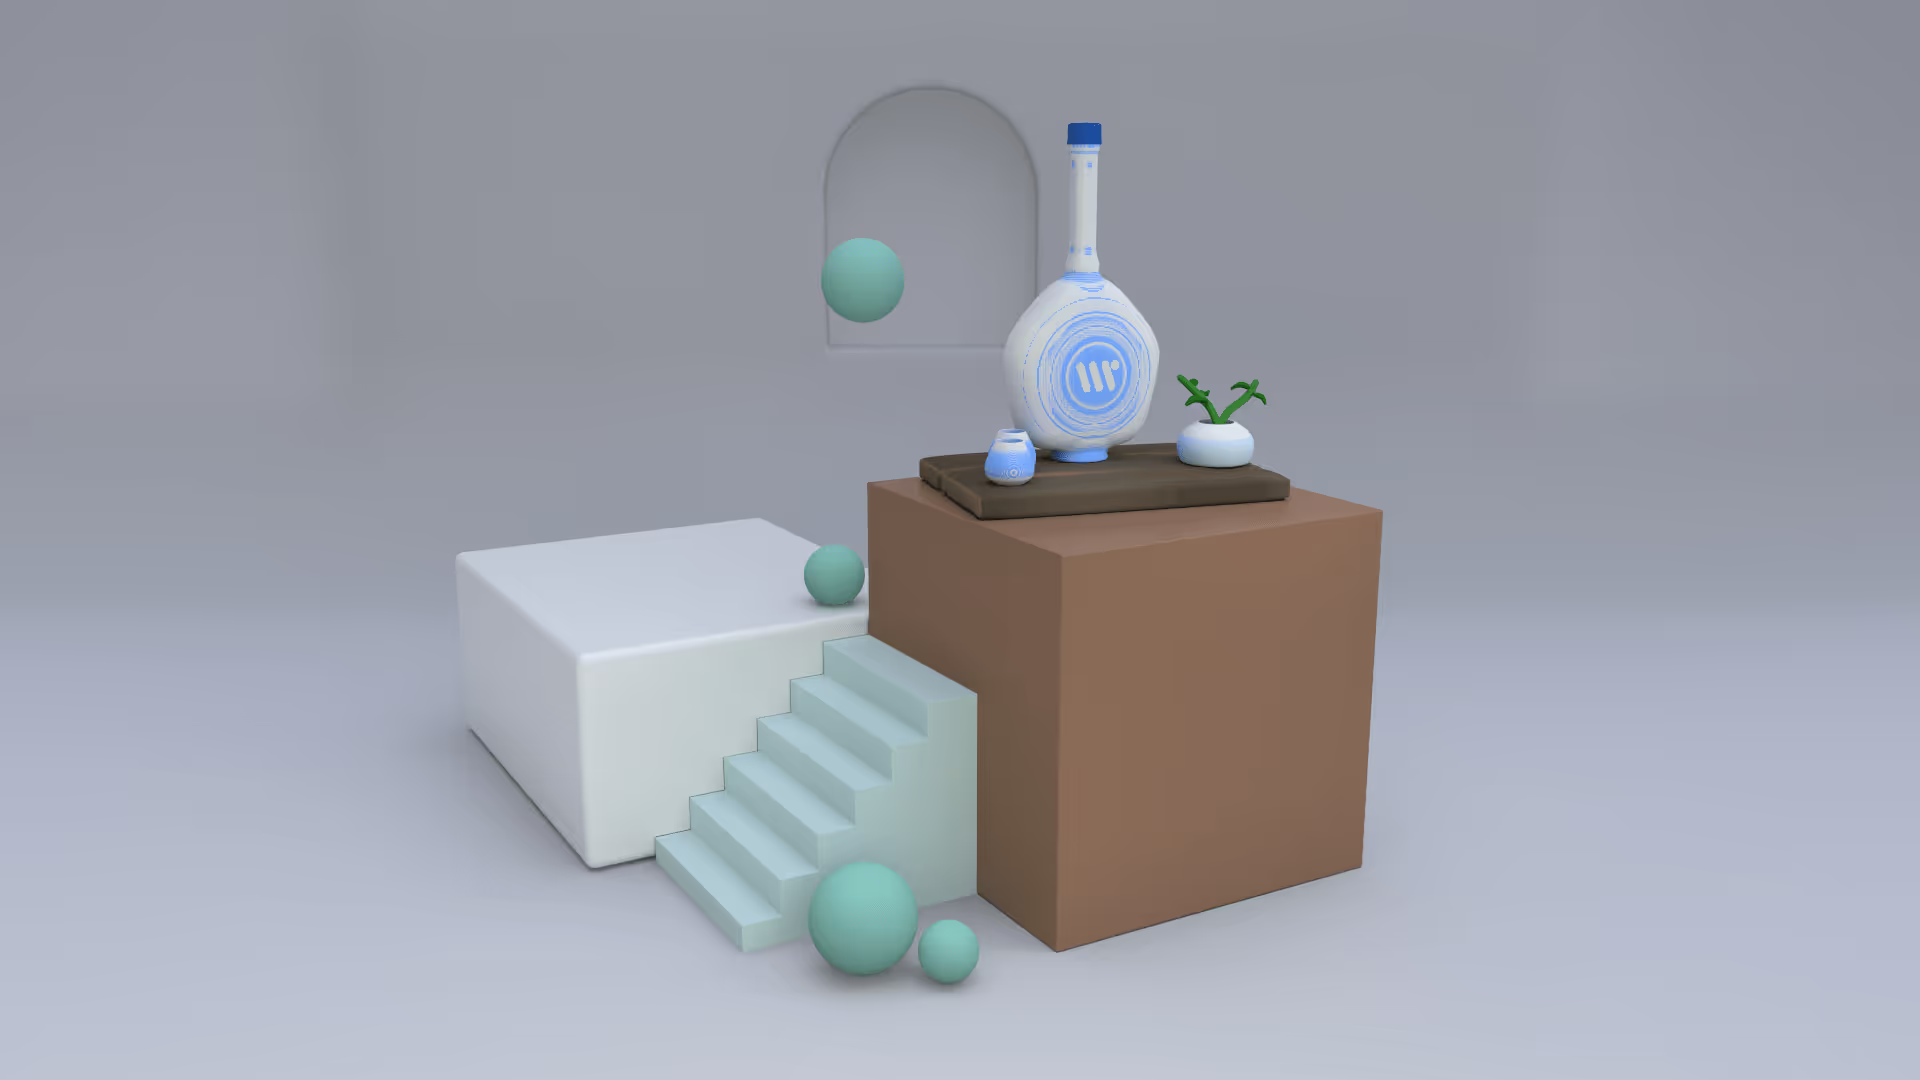
If you're a digital artist or designer looking to take your work to the next level, you might be interested in importing 3D models into Procreate and adding textures or paint to them. This can be a great way to create unique, eye-catching visuals that stand out from the crowd. Here's a step-by-step guide to importing 3D models into Procreate and adding your own custom textures and paint:
Step 1: Find a 3D model
The first step is to find a 3D model that you want to use in your Procreate project. There are many different sources for 3D models, including online marketplaces, free libraries, and even your own creations using 3D design software like Womp. Make sure that the model you choose is compatible with Procreate and can be exported in a file format that Procreate can read, such as OBJ or FBX.
Here’s a 6 mins video guide on How to texture 3D models using Procreate?
Step 2: Import the model into Procreate
Once you have your 3D model, you'll need to import it into Procreate. To do this, go to the "Photos" app on your device and select the file containing your 3D model. Tap the share icon and select "Copy to Procreate." This will open Procreate and import your 3D model as a new layer.
Step 3: Adjust the position and size of the model
Next, you'll want to adjust the position and size of your 3D model so that it fits into your Procreate canvas. You can use the transform tools in Procreate to scale, rotate, and move the model as needed.
Step 4: Add textures or paint
Now comes the fun part! To add textures or paint to your 3D model, you'll need to create a new layer on top of the 3D model layer. This layer should be set to "Overlay" or "Multiply" blending mode, depending on the effect you're going for.
From here, you can use Procreate's painting tools to add your own custom textures and paint to the model. You might use a textured brush to create a rough, gritty look, or a smooth brush for a more polished finish. You can also experiment with layer masks, blending modes, and other tools to create the perfect look for your project.
Step 5: Refine and finalize your design
Finally, take some time to refine and finalize your design. This might involve adding additional layers or effects, adjusting the color and lighting, or making other tweaks to bring your 3D model to life.
By following these steps, you can import 3D models into Procreate and add your own unique textures and paint to create stunning, one-of-a-kind designs. With practice and experimentation, you can create truly amazing 3D art that stands out from the crowd.