
Custom 3D printing service: Design and print professional models in one platform
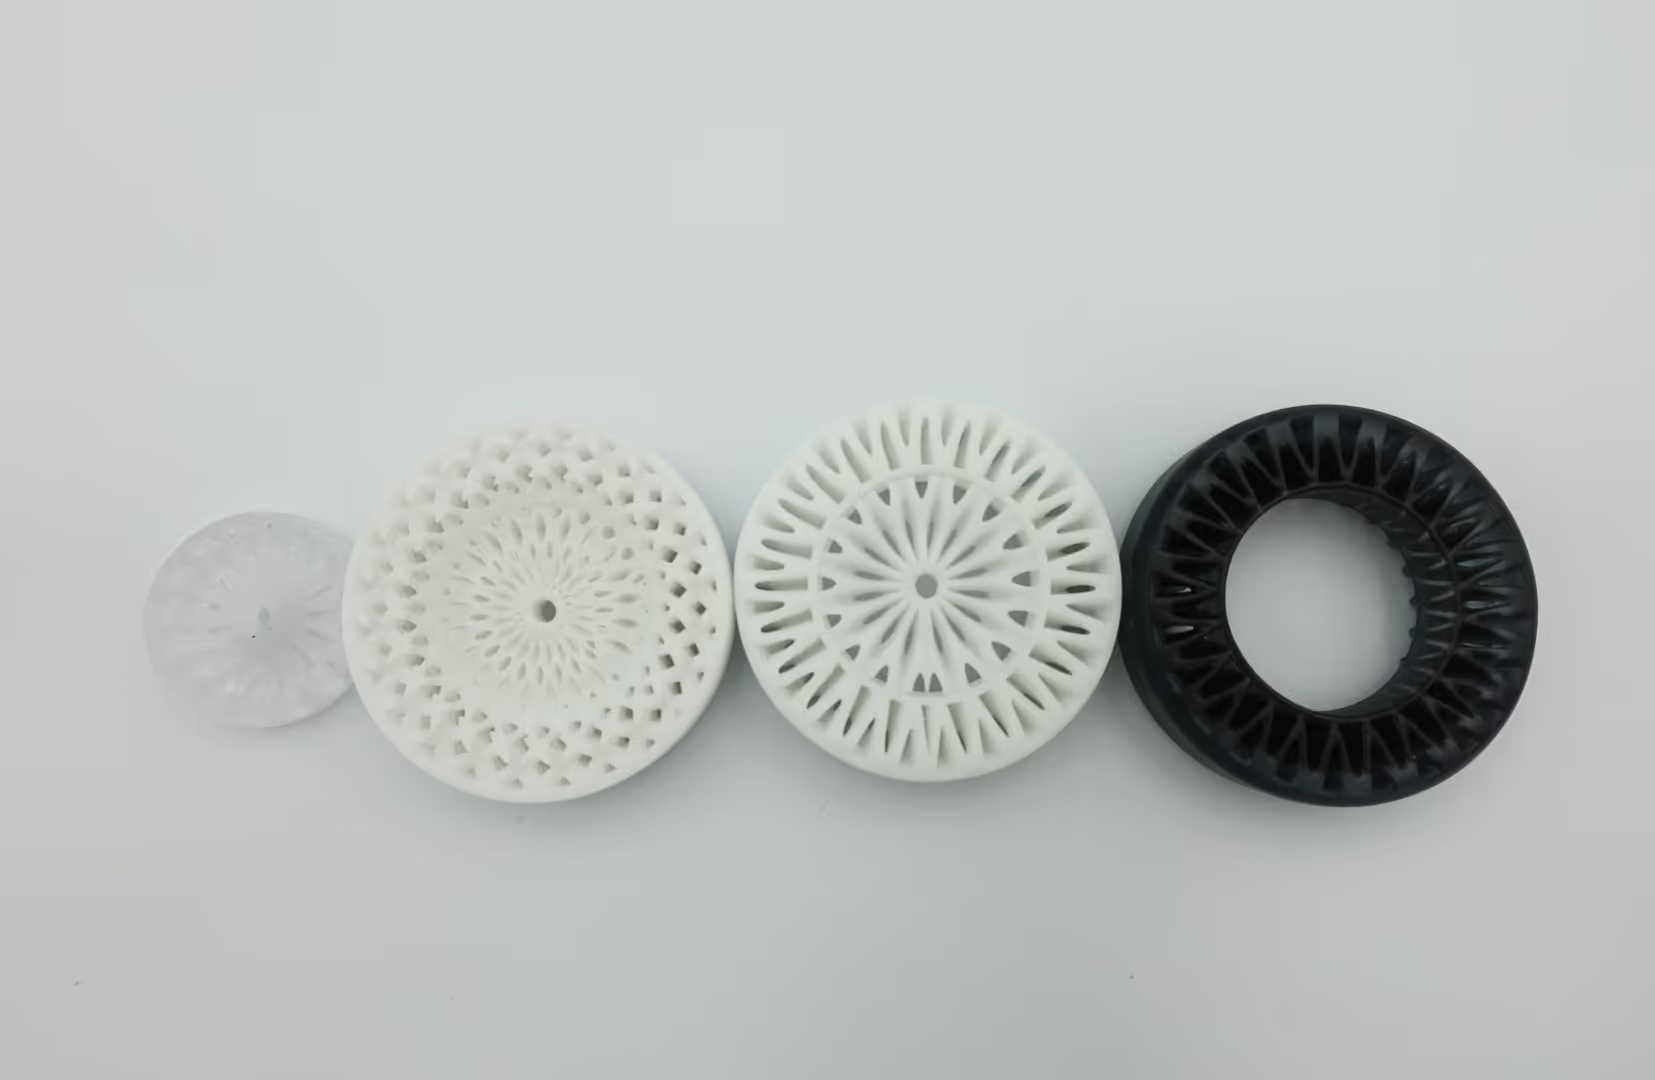
Most 3D printing services force you to design elsewhere, export files, upload to a separate platform, and hope the print matches your expectations. This fragmented workflow wastes time and creates communication gaps between design and manufacturing.
Womp integrates professional SLA 3D printing directly into the design platform - from concept to doorstep in one seamless workflow.
What makes Womp's 3D printing unique
Design-to-print integration:
- Design and print in one platform without file transfers
- Real-time cost calculations as you adjust designs
- Instant structural health checks before ordering
- No separate printing service accounts needed
Professional SLA technology:
- High-detail smooth surfaces with layer precision
- Professional-grade stereolithography printing
- Two premium materials: white prototyping plastic and clear resin
- Quality matching industrial prototyping services
Intelligent optimization:
- Hollow printing automatically reduces material costs
- Wall thickness analysis prevents print failures
- Drain hole placement tools for hollow designs
- Size scaling with instant price updates
Available materials and finishes
White prototyping plastic (WPP)
Professional opaque resin for high-end prototypes and presentations. Stark white smooth finish with excellent detail reproduction. Best for professional prototypes, client presentations, and portfolio pieces.
Clear resin (CR)
Crystal-clear transparent material for display pieces and visual impact. Available in matte or glossy finish, fully transparent or tinted options. Must be printed solid for best appearance - hollow clear prints show internal structures.
The 5-step print workflow
Step 1: Select print areas
Open any Womp project, switch to print mode from top bar, and select which parts to print. Can order different components separately.
Step 2: Choose material
Select white plastic or clear resin with preferred finish. Both materials deliver smooth, high-detail results with professional quality.
Step 3: Optimize size
Adjust dimensions between 10mm × 10mm × 10mm (minimum) and 300mm × 300mm × 300mm (maximum). Toggle "banana for scale" to visualize actual size. Cost updates instantly as you scale.
Step 4: Choose solid or hollow
Solid prints:
- Maximum strength, uses more material
- Best for small objects and clear resin
- Higher cost due to material volume
Hollow prints:
- Significant cost savings, lighter weight
- Requires 1.2mm+ wall thickness
- Must add drain holes for successful printing
- Color-coded health analysis shows thin areas
Step 5: Review and order
Check material, size, weight, and cost breakdown. Use x-ray view to verify wall thickness. Add to cart and checkout with shipping address.
Pro subscriber benefits
10% automatic discount on all print orders plus:
- Priority customer support for print issues
- Hollow printing access for cost optimization
- Enhanced export options for external printing
- 2x import storage for larger projects
Free users can still order prints at standard pricing with all quality features.
Pricing and shipping
Cost factors:
- Material volume determines base price
- Size directly affects material usage
- Hollow printing reduces costs significantly
- Starting from approximately $5 per print
Bulk discounts:
- 250-499 units: 2.5% off
- 500-999 units: 5% off
- 1,000-4,999 units: 7.5% off
- 5,000-9,999 units: 10% off
- 10,000+ units: 12.5% off
Shipping:
- Free shipping on orders over $50
- Standard and express options available
- Tracking information provided
- Processing time varies by complexity
Payment: Debit and credit cards accepted. PayPal not available for print orders.
Print optimization tools
**Structural health analysis:**Color-coded thickness visualization shows potential failures before ordering:
- Red zones (0.5mm): Likely to fail
- Yellow zones (1.0mm): Acceptable but thin
- No highlight (2.0mm+): Optimal thickness
View modes:
- Print view: Shows final appearance with material finish
- X-ray view: Reveals internal wall thickness
- Cross-section view: Checks internal structure
- Normal view: Standard design preview
**Real-time cost calculator:**Pricing updates instantly as you adjust size, material, and hollow settings. See exact savings from hollowing before committing.
Technical requirements
File compatibility:
- Native Womp designs print directly
- Imported meshes must be "closed" (no openings)
- Supports standard 3D formats (STL, OBJ, etc.)
- Automatic printability validation
Size limits:
- Minimum: 10mm × 10mm × 10mm
- Maximum: 300mm × 300mm × 300mm
- Models outside range automatically rejected
Hollow printing rules:
- Minimum wall thickness: 1.2mm recommended
- Drain holes required for hollow prints
- Multiple drain holes needed for complex shapes
- Cannot hollow prints below minimum thickness
Order limitations:
- Maximum 3 disconnected pieces per order item
- Orders exceeding limit automatically rejected
- Contact team@womp.xyz for bulk arrangements
- Cannot modify orders after submission
Use cases
**Product prototyping:**Rapidly iterate physical prototypes with quick turnaround. Test ergonomics, fit, and assembly before mass production. Cost-effective validation for startups and entrepreneurs.
**Client presentations:**Professional white plastic prints impress clients with tangible prototypes. Show scale, form, and details that renders cannot convey. Build confidence in design decisions.
**Replacement parts:**Design custom parts for broken household items or vintage equipment. Print exact-fit replacements unavailable commercially. Save money compared to buying entire products.
**Portfolio pieces:**Create physical portfolio samples for design presentations. Stand out with tangible work alongside digital presentations. Demonstrate 3D modeling skills with real objects.
**Educational projects:**Students design and print STEM projects with minimal barriers. Teachers order classroom demonstration models. Learn design-for-manufacturing principles through iteration.
Why integrated printing matters
Traditional workflow requires exporting STL files, creating printing service accounts, uploading designs, configuring settings separately, and hoping the service interprets your design correctly.
Womp eliminates these friction points:
- No file format conversions or compatibility issues
- Structural problems detected before ordering
- Cost visible during design phase prevents surprises
- Single platform reduces errors and saves time
- Design changes don't require re-uploading files
This integration transforms 3D printing from a complex multi-platform process into a natural extension of the design workflow.
Getting started
- Design model in Womp or import existing 3D file
- Click "Print" button in top bar to enter print mode
- Select areas to print and click "Prepare for print"
- Follow 5-step workflow to configure and order
- Track order in "My orders" page from avatar menu
No separate printing service account needed. Professional SLA quality delivered to your door.